Installing Fedora Linux
Today I am going to show you how to install Fedora 22 in a Virtual box. This tutorial shows you how to do a Live CD install of Fedora in a Virtual box environment. All you need for this tutorial is: Oracle's VM Virtualbox and latest Additions installed on your system and the latest Fedora-Live-Workstation-x86_64-22-3.iso Boot image from Fedora's own website.
Download Fedora-Live-Workstation-x86_64-22-3.isoDownload Virtualbox
NOTE: This is an update to my Fedora 20 tutorial. there is very little difference between fedora 20 and 22, The one real difference is that fedora 22 has switched from YUM to DNF as a package manager. More about DNF
ABOUT: Free your desktop with Fedora.
Fedora is a fast, stable, and powerful operating system for everyday use built by a
worldwide community of friends. It's completely free to use, study, and share.
Start your Virtualbox and mount Fedora-Live-Workstation-x86_64-22-3.iso
This is a 64Bit ISO so your default Architecture will be 64bit If you need a 32Bit ISO it can be downloaded from fedora's website.
Hit "Enter" to start the install.
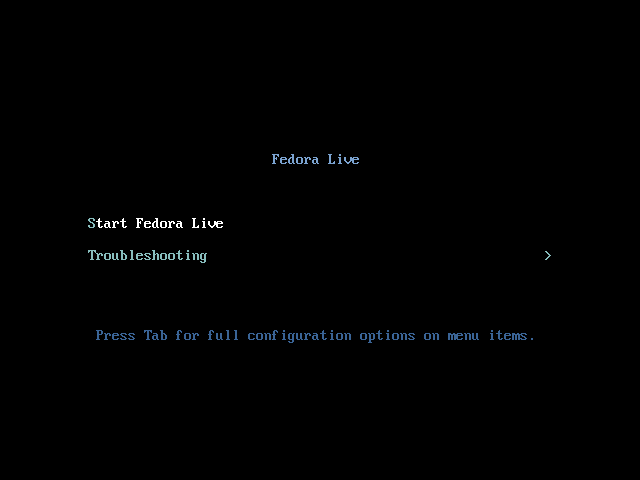
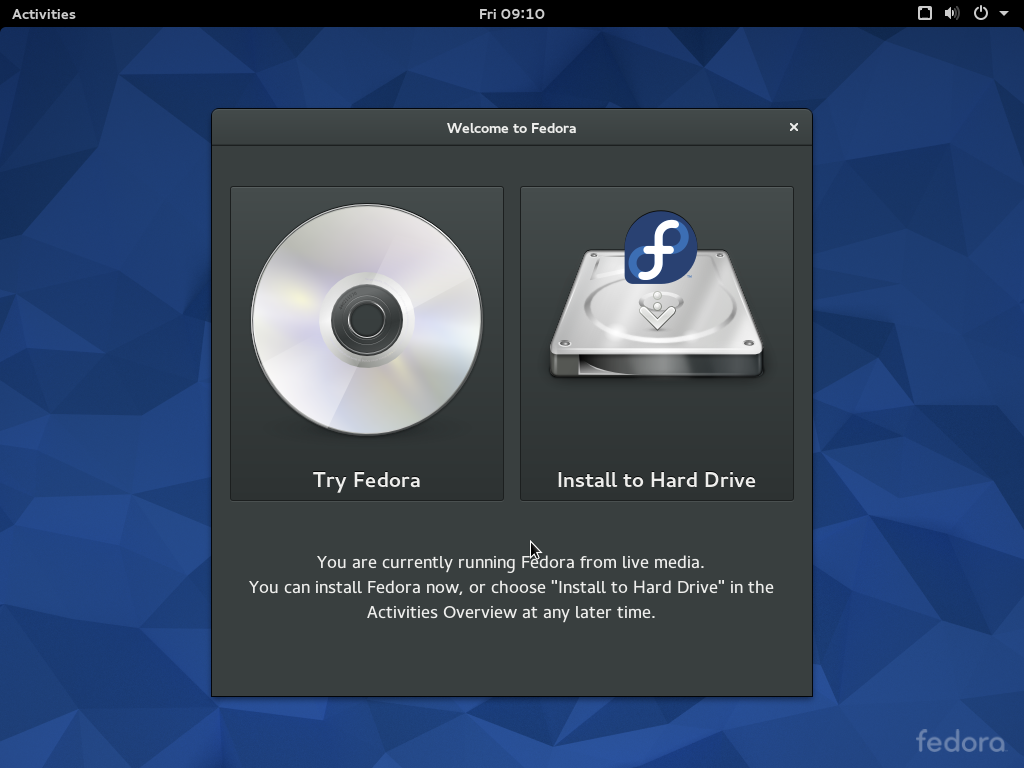
When Fedora is fully loaded in to memory you will see an option to Try Fedora or Install to Hard Drive because we are going to install this in a Virtualbox Click on "Install to Hard Drive"
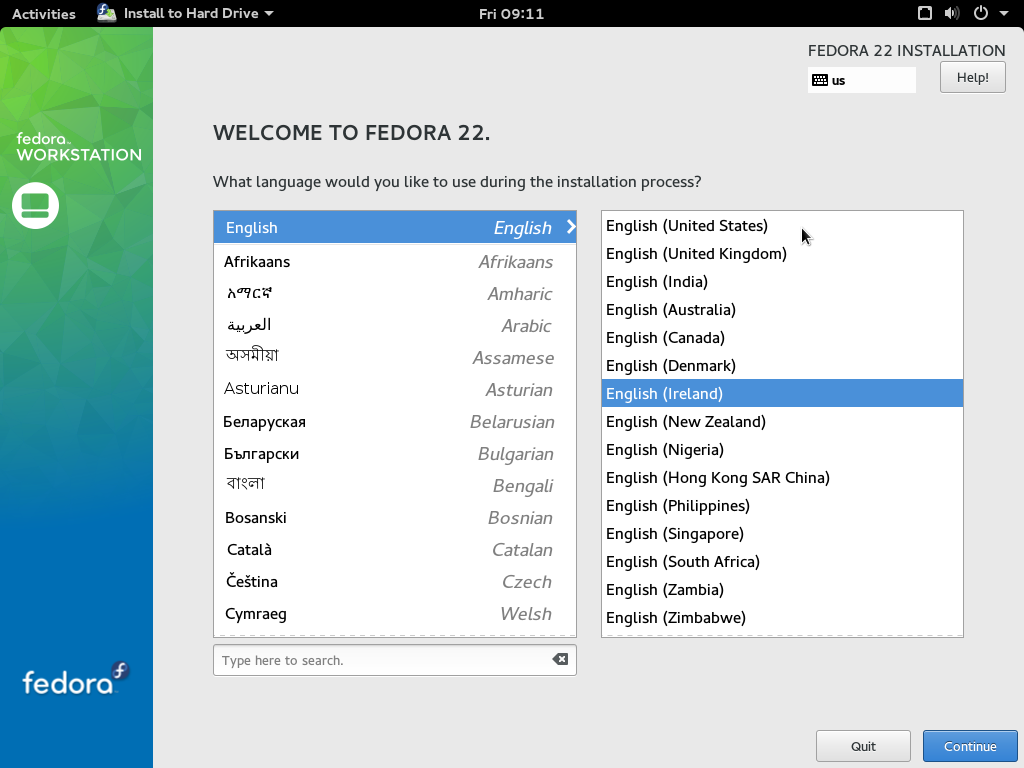
Now Select your language that is most suited to you. In this case I am using English (Ireland) As I live in Ireland I want my locals and Currency to match. Then click Continue.
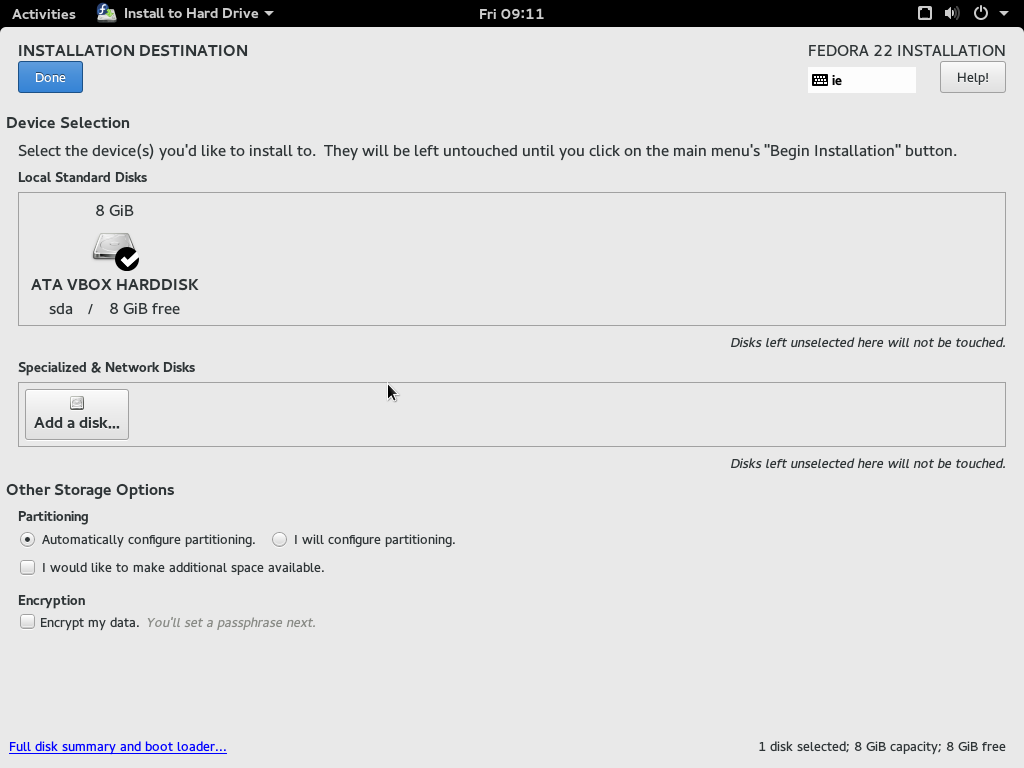
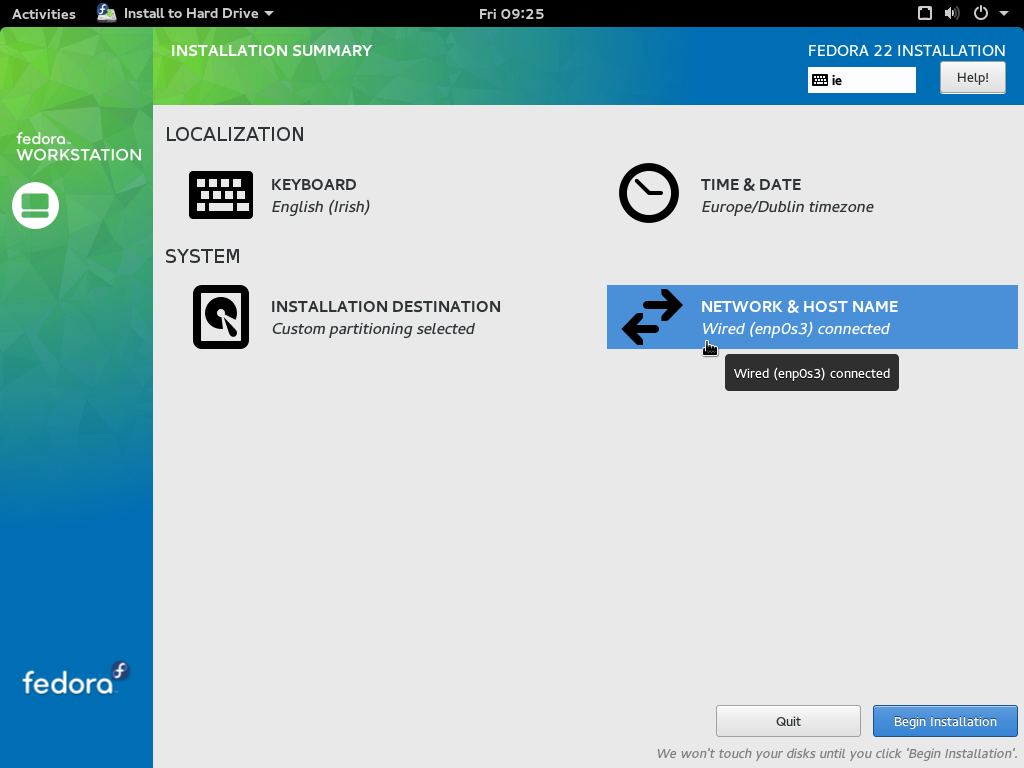
You are now presented with Installation Summery otherwise none as (Anaconda) Its here we select hard drive destination and set your hostname, add additional software. Click on INSTALLATION DESTINATION

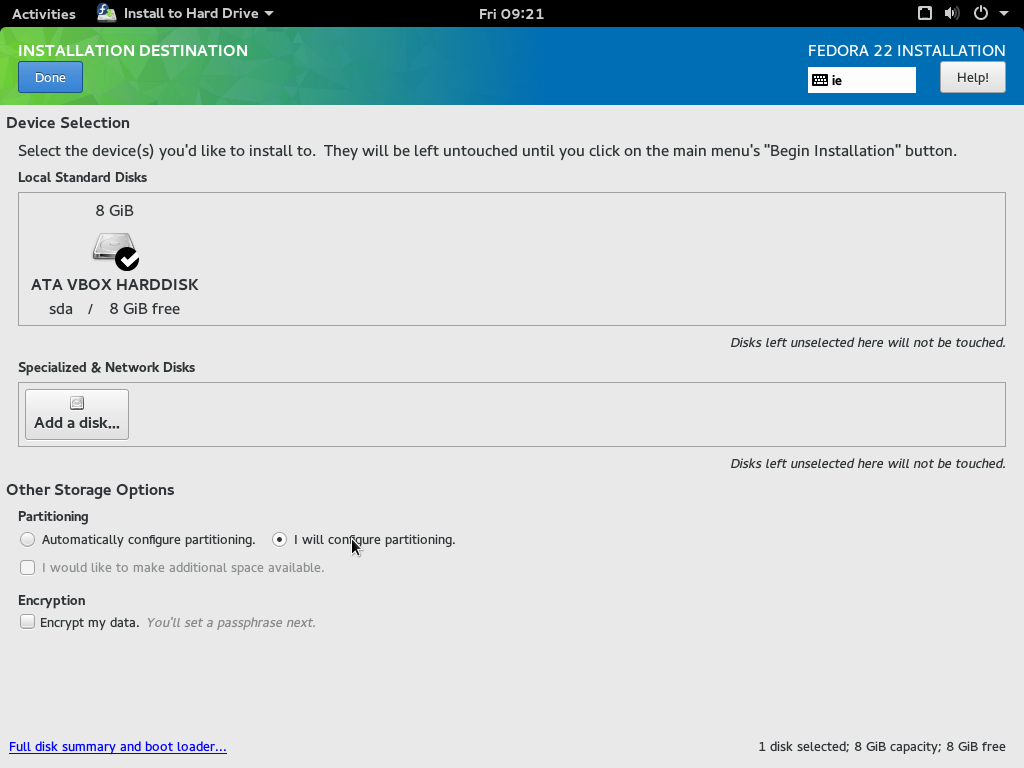
OK In this section we are going to tell Anaconda where we want to install Fedora.
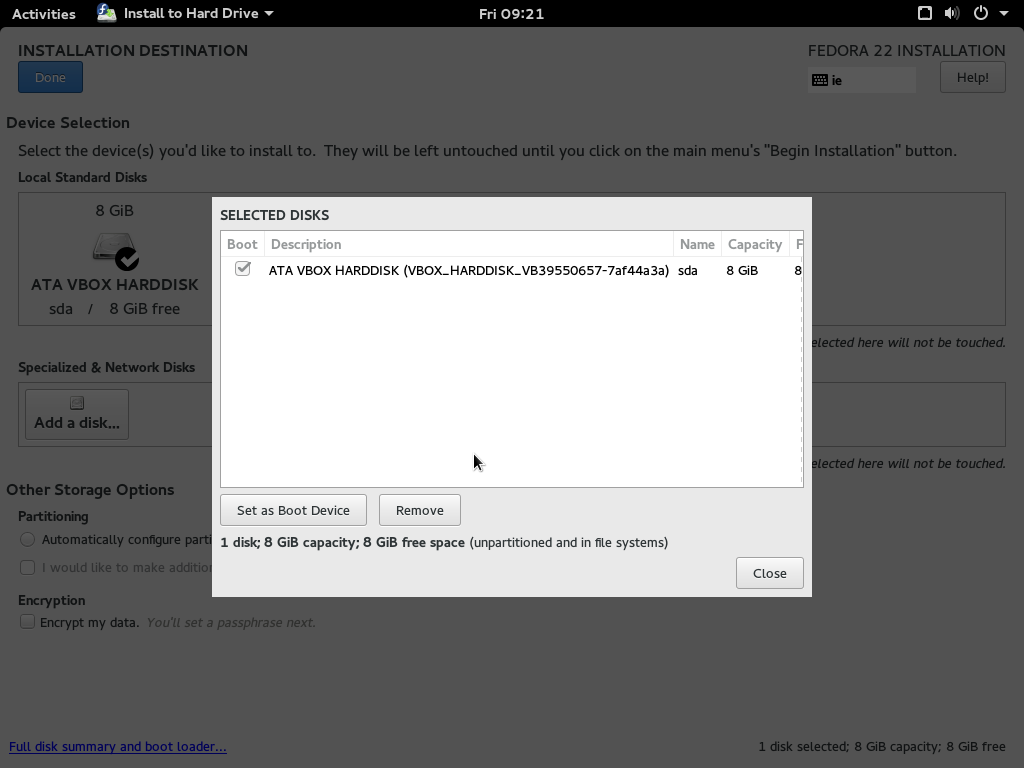
OPTIONS: If you click on "Full disk summery and boot loader" You are presented with a SELECTED DISKS Window. In this window you have to options to change your Boot Device. For this install we are going to use the default. Click close then click Done.
Now click "I will configure partitioning" then click done.
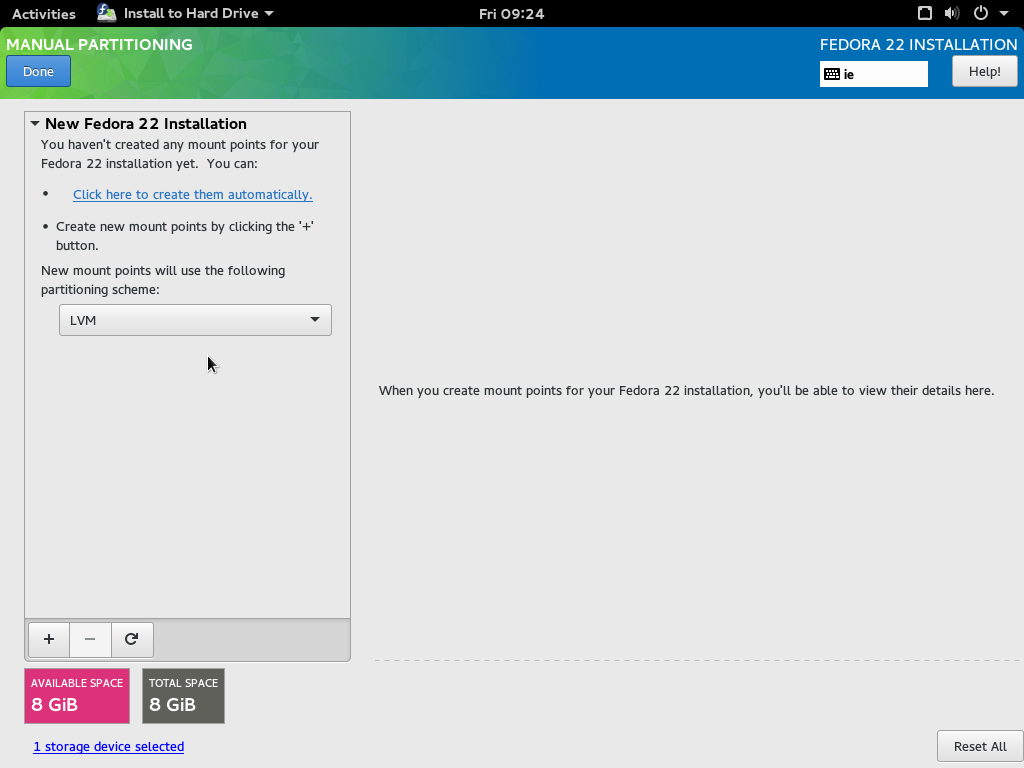
OPTIONS: when you click on "Done" you will be presented with options to configure the partition scheme. For this install we are going to use the default scheme of LVM. To continue click Done.
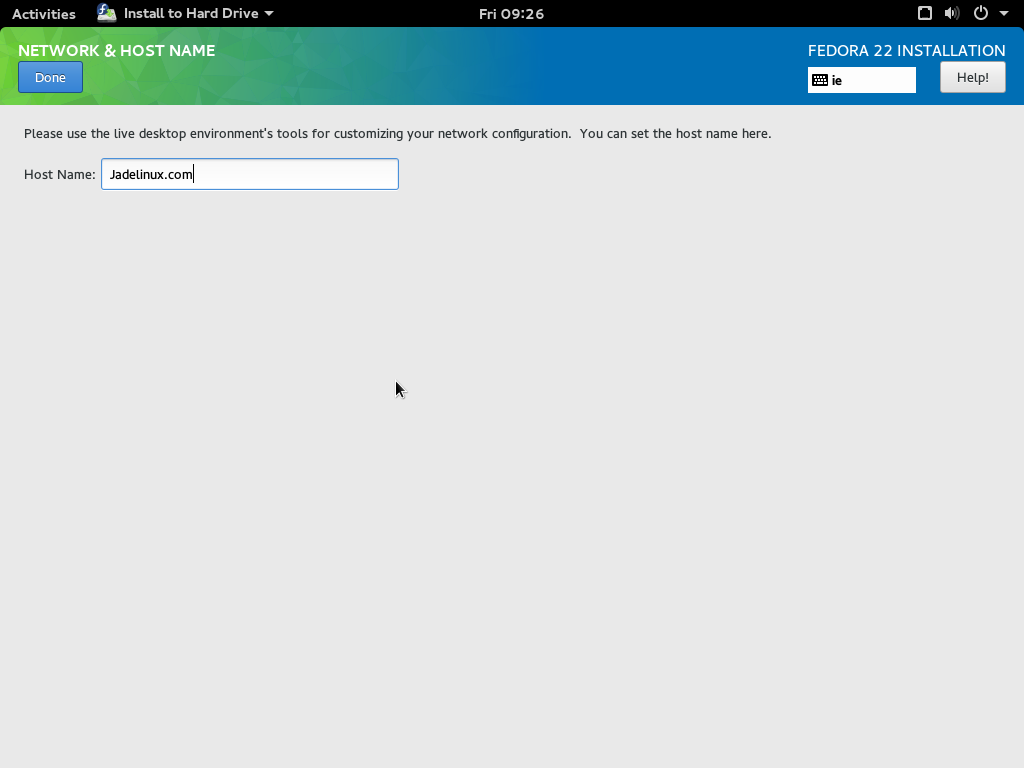
Now we are back at the Installation Summery (Anaconda) Click on Network Configuration.
It's here we set your hostname. Enter a hostname of your choosing. Then click Done.
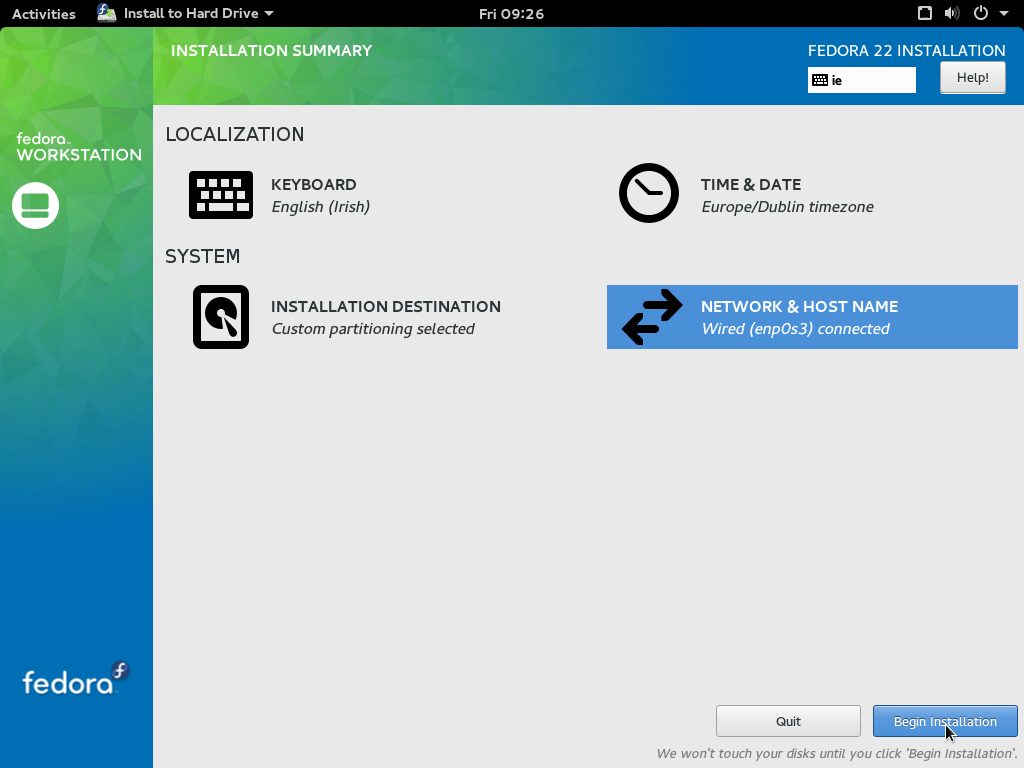
You are now back at the Anaconda Installation summery window. Click "Begin Installation" to start your install.
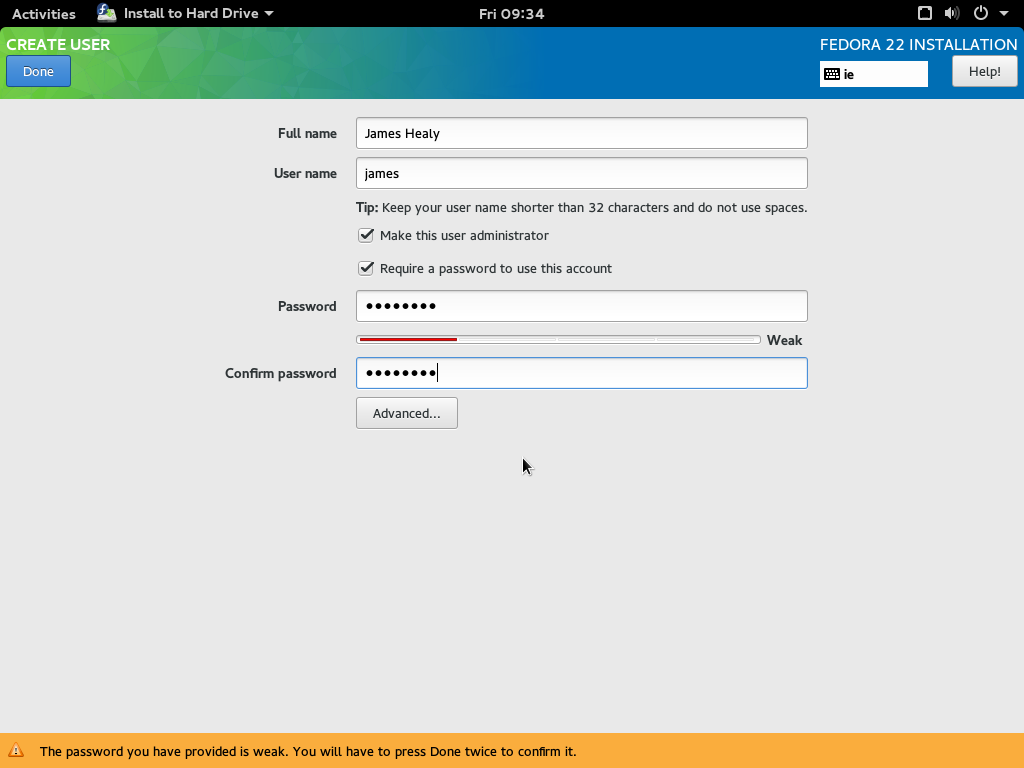
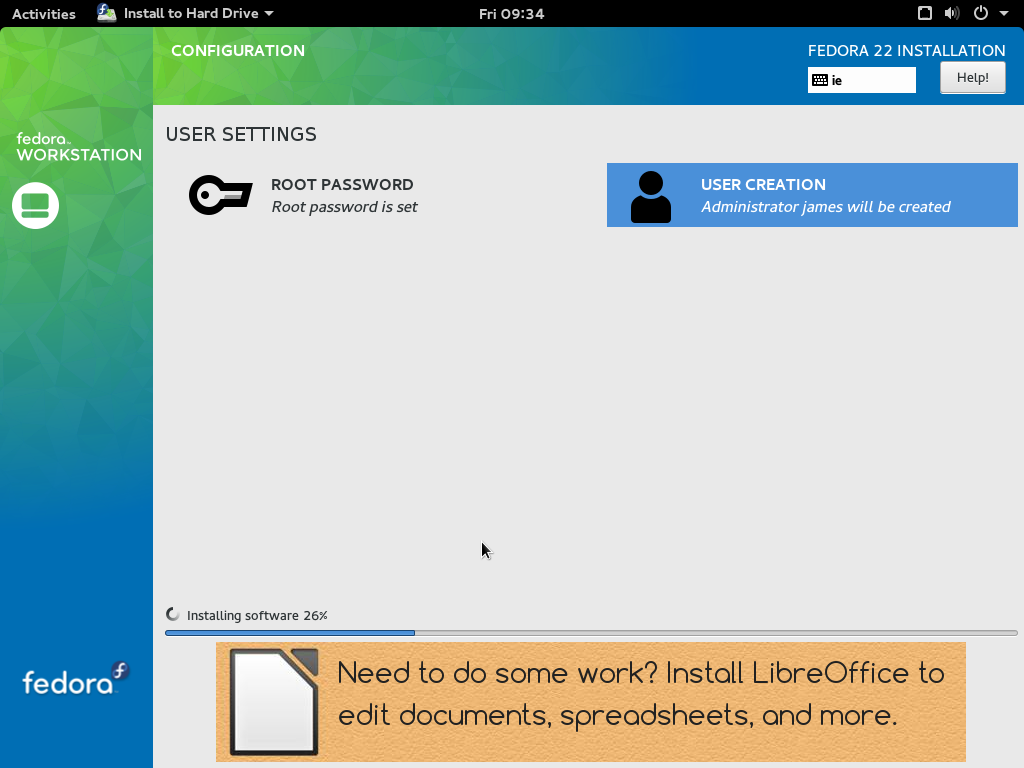
At this point your Hard Drive is being partitioned and Fedora is being installed. In this window you must install a root password and also create a new user. Click on USER CREATION.

Now we need to crate a new user. Fill out the form making sure to check "Make this user administrator"
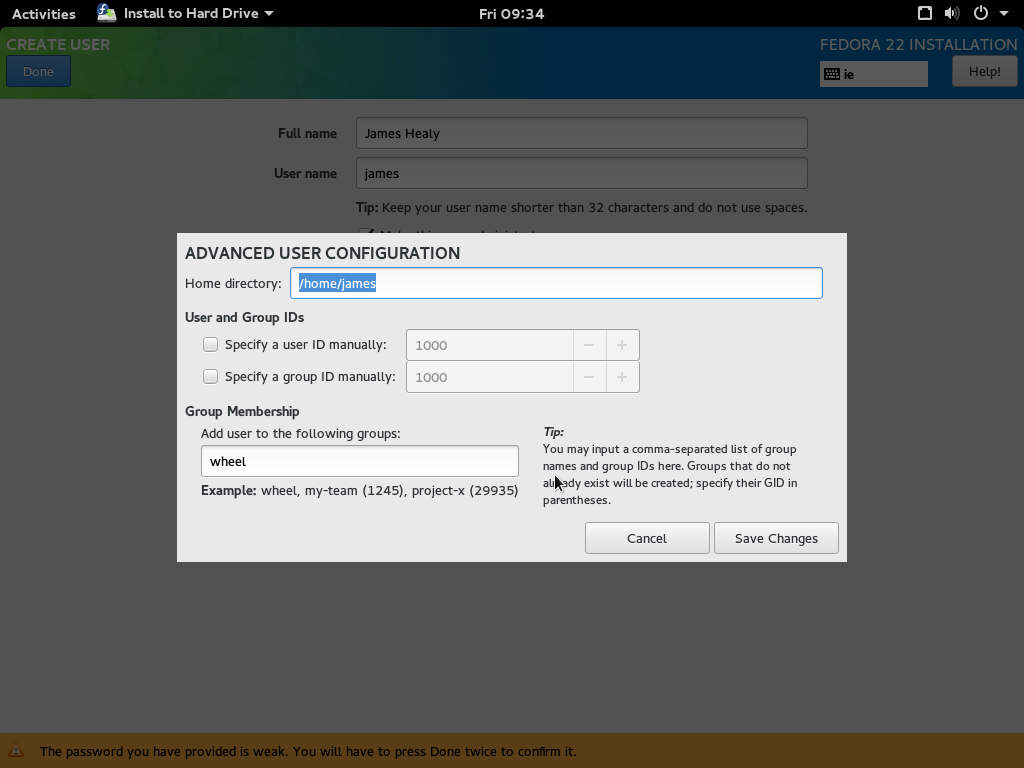
Click on Advanced button and this will load ADVANCED USER CONFIGURATION it's here we can add your account to other groups or change home directory. Click on save changes to continue.
Now click ROOT PASSWORD. Create a new password and repeat once you have created a new password click on Done to continue.
NOTE: If you use a week password like all lower case with no numbers or upper case characters Anaconda will warn you. If you are happy with using lower case then click done again.
Now Click on Quit and reboot the Computer/Virtualbox.
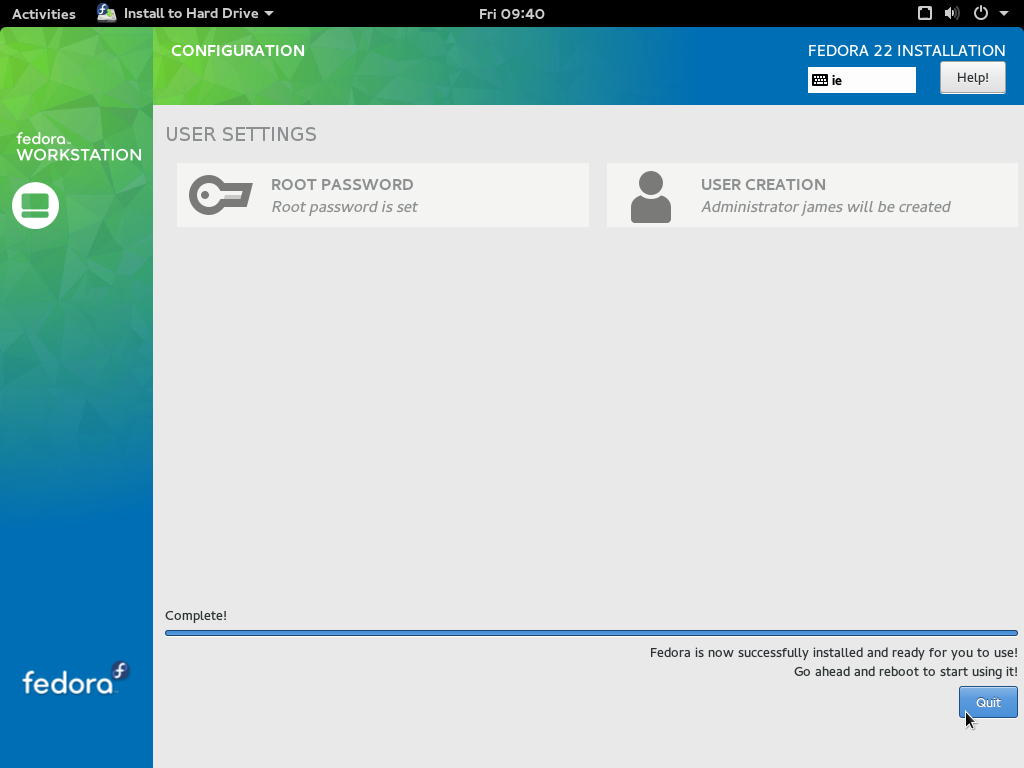
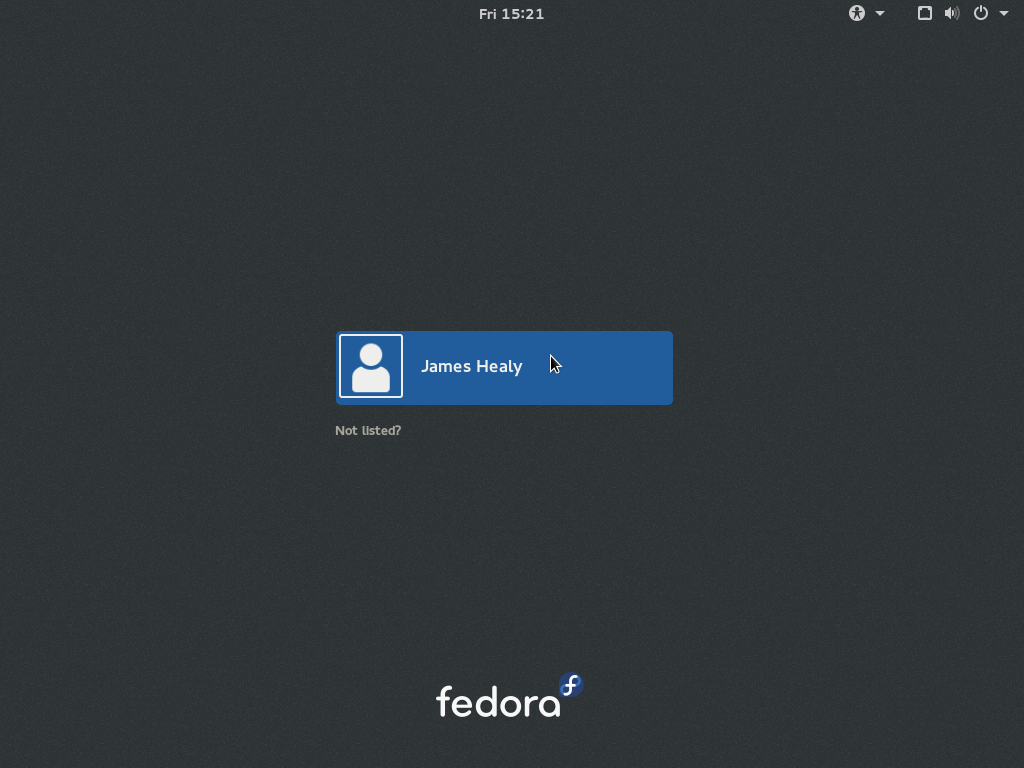
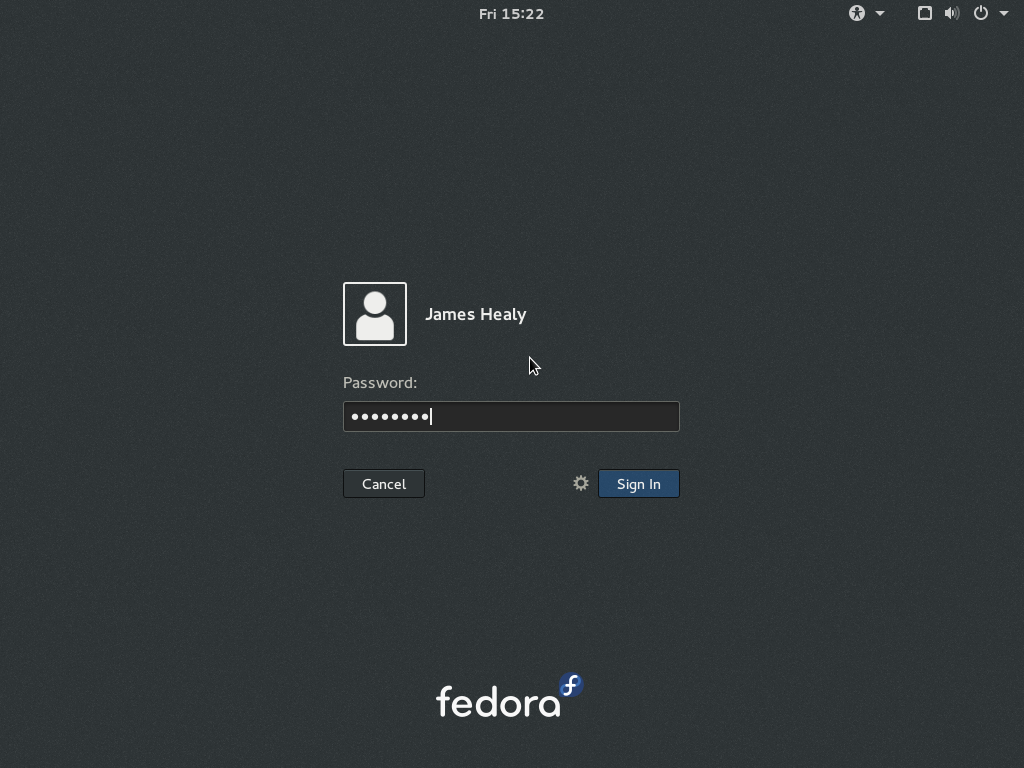
That's it you have installed Fedora Linux. Click on your user name and log in.
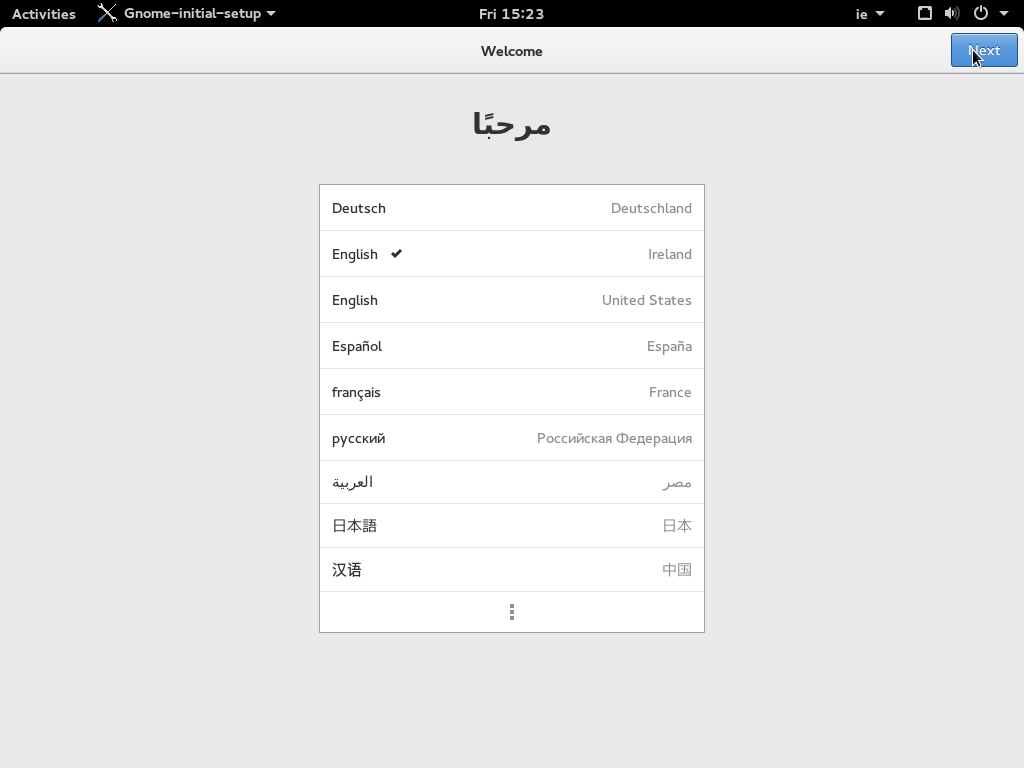
Select your system default system language. Then click Next.
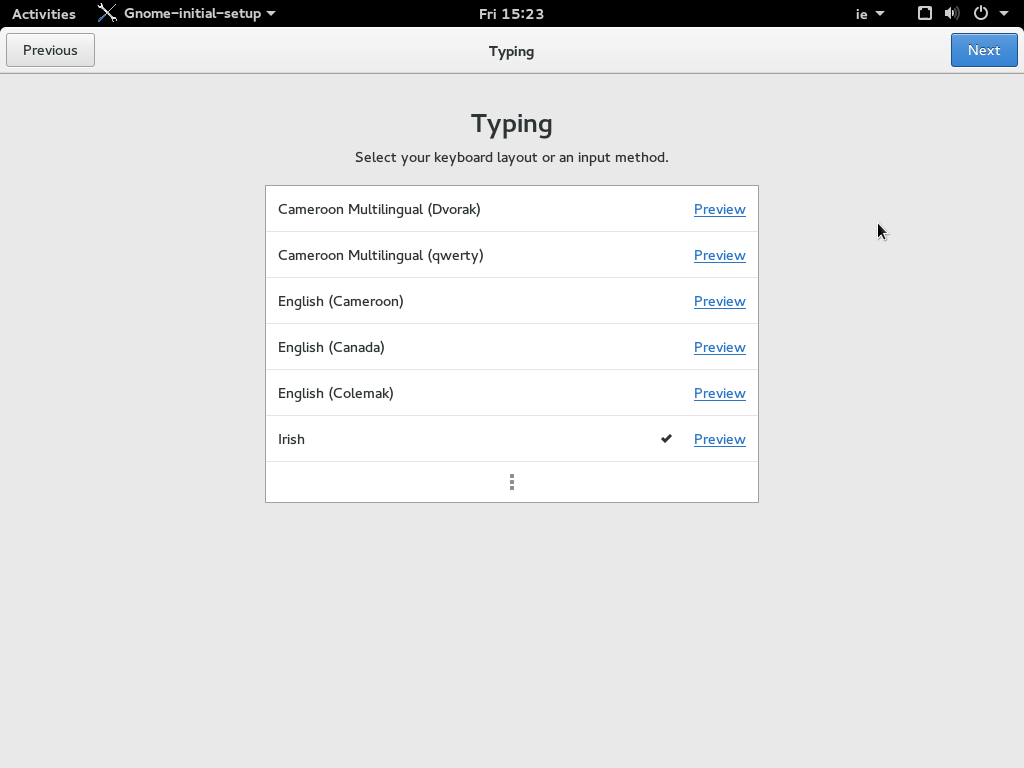
Click next again.
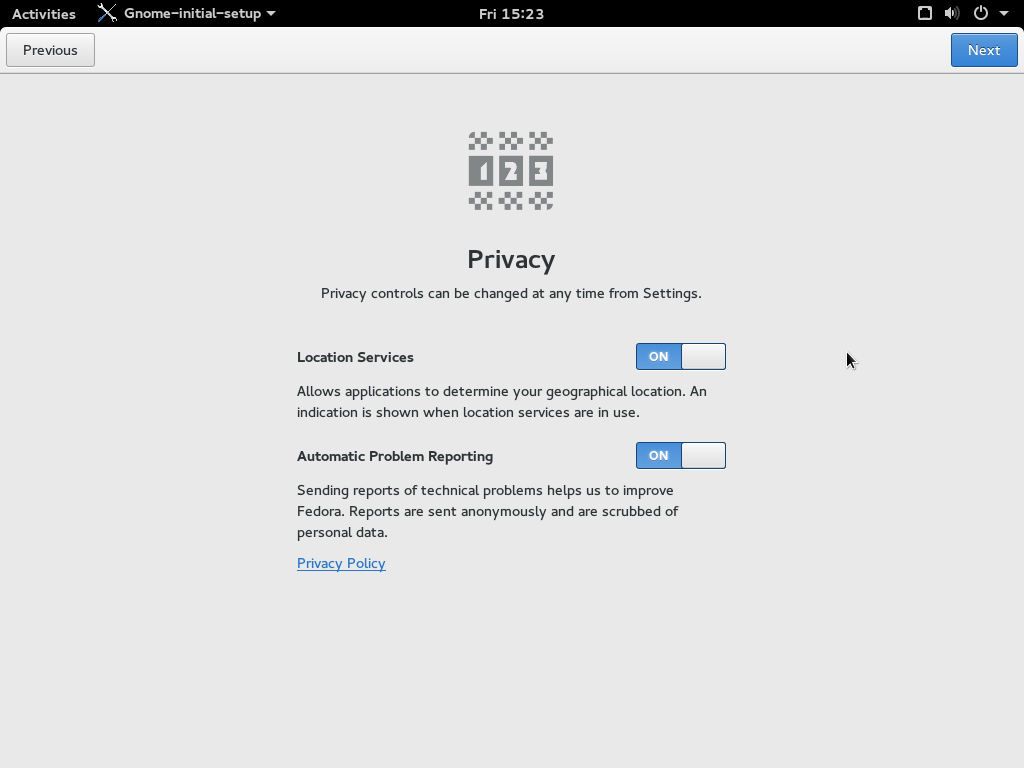
Select your Privacy settings.
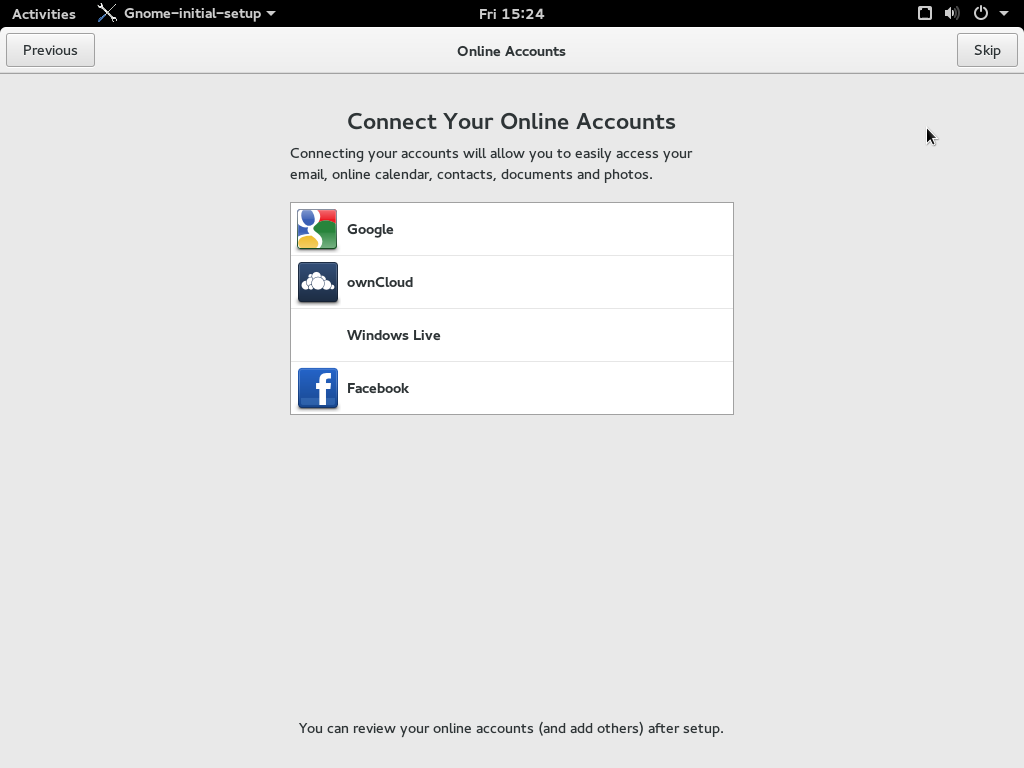
At this point of the set up you are promoted to add an online account like Google+ or Facebook. If you have any of these accounts and you do not wish to set them up just click next.
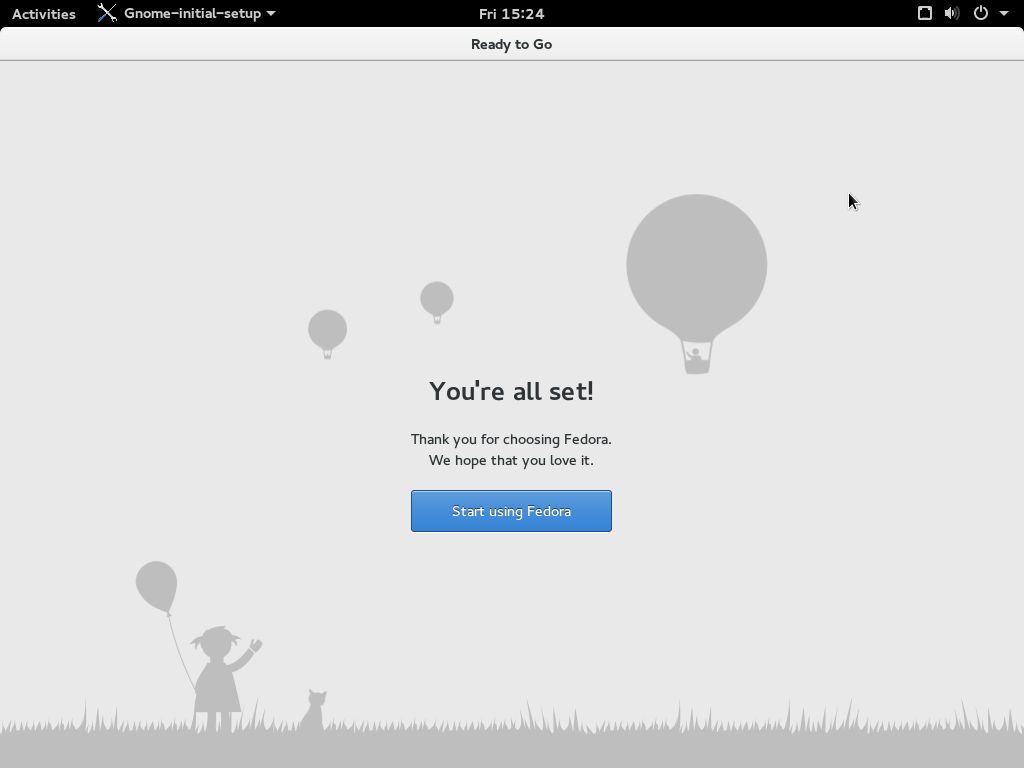
Now click on Start using Fedora
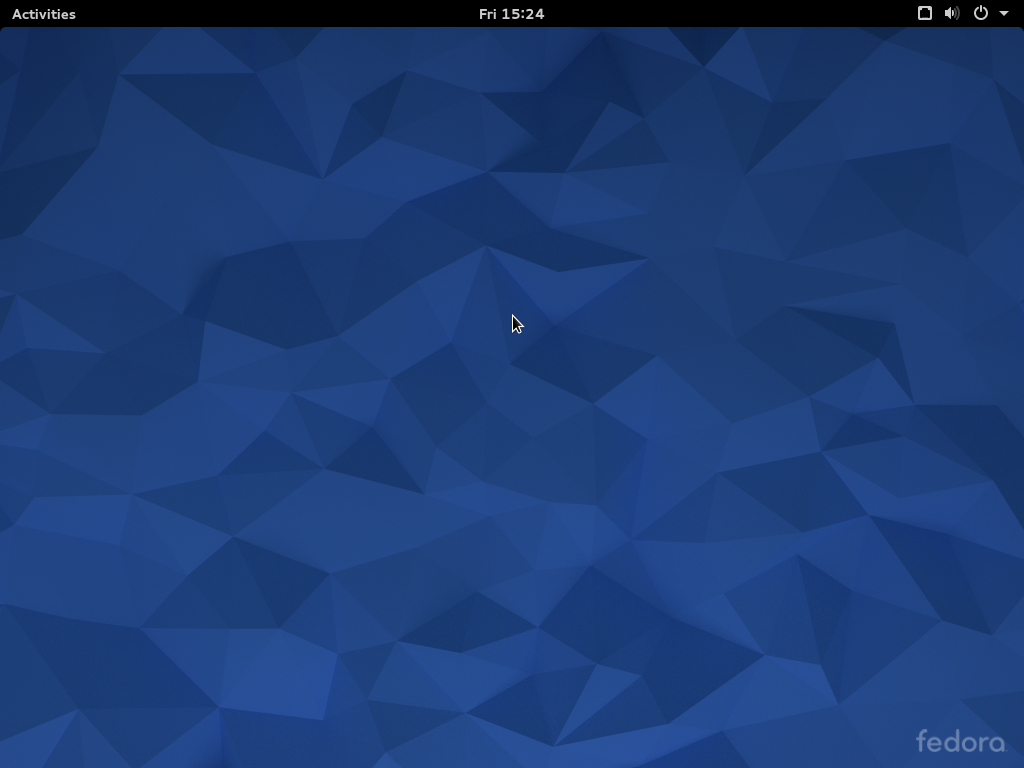
Now you are on the your desktop. The next thing we should do is make sure you are running the latest software. So now we will perform a full system update.
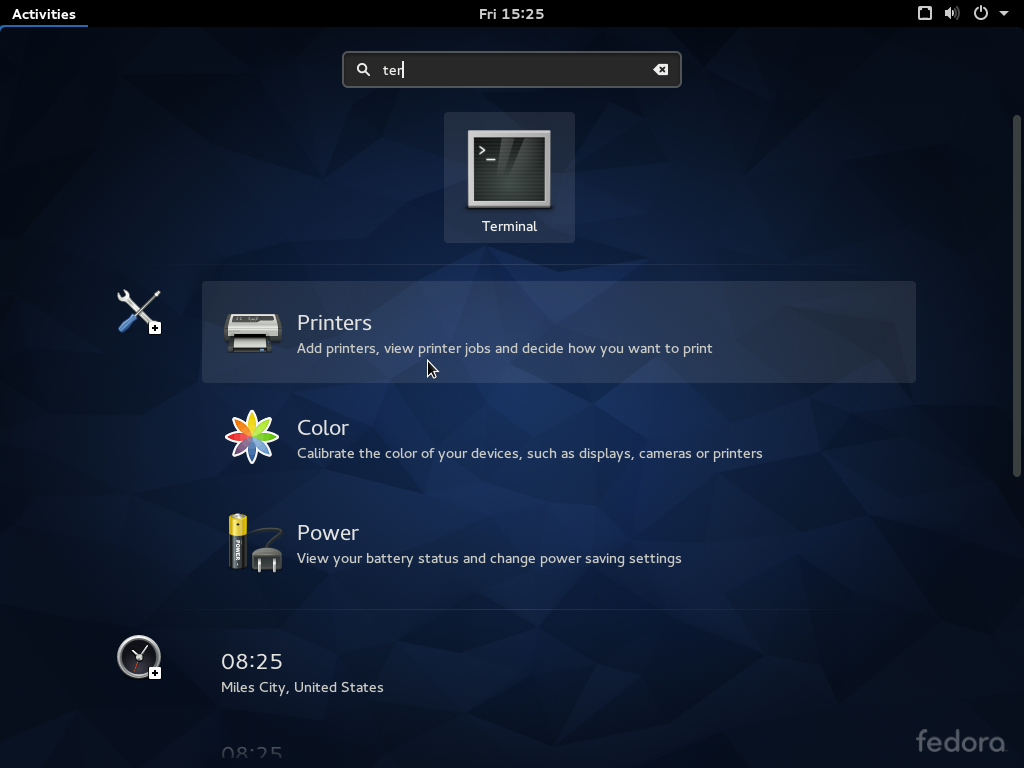
Hit your "Super Key" this will be the key with the Windows Logo on it.
Then search for your terminal.
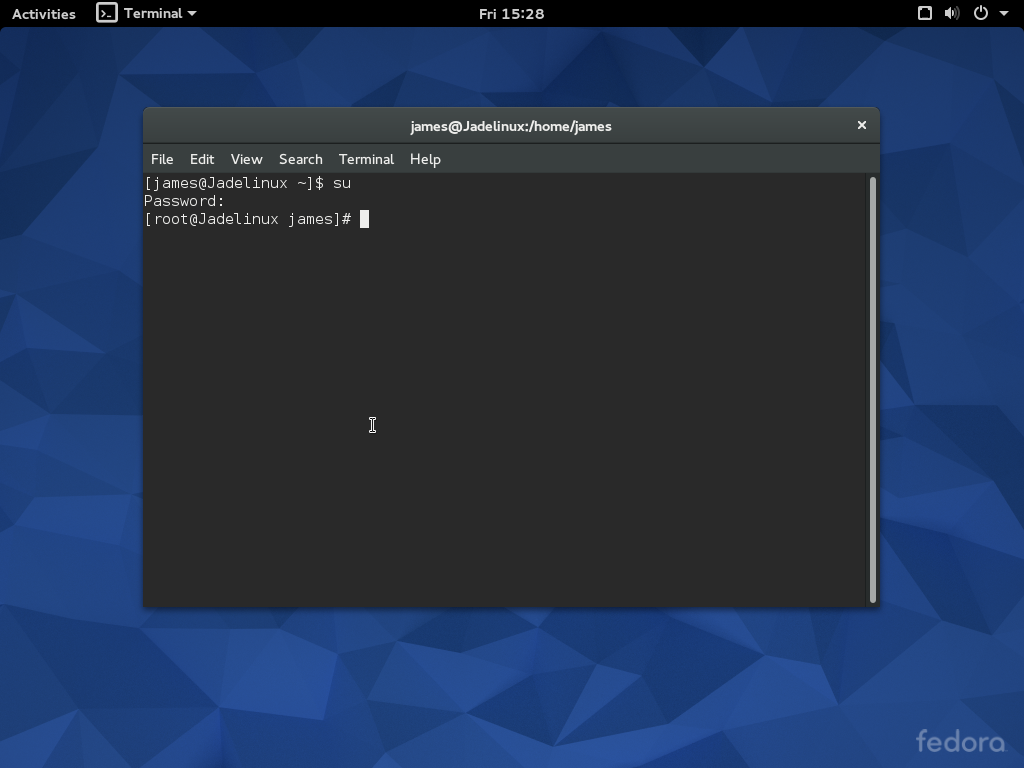
In order to become the root you must use the "SU" command. SU stands for Select User. So type su in the terminal and hit enter. Then you are asked to type a password. This is the password you would of set up during the install process.
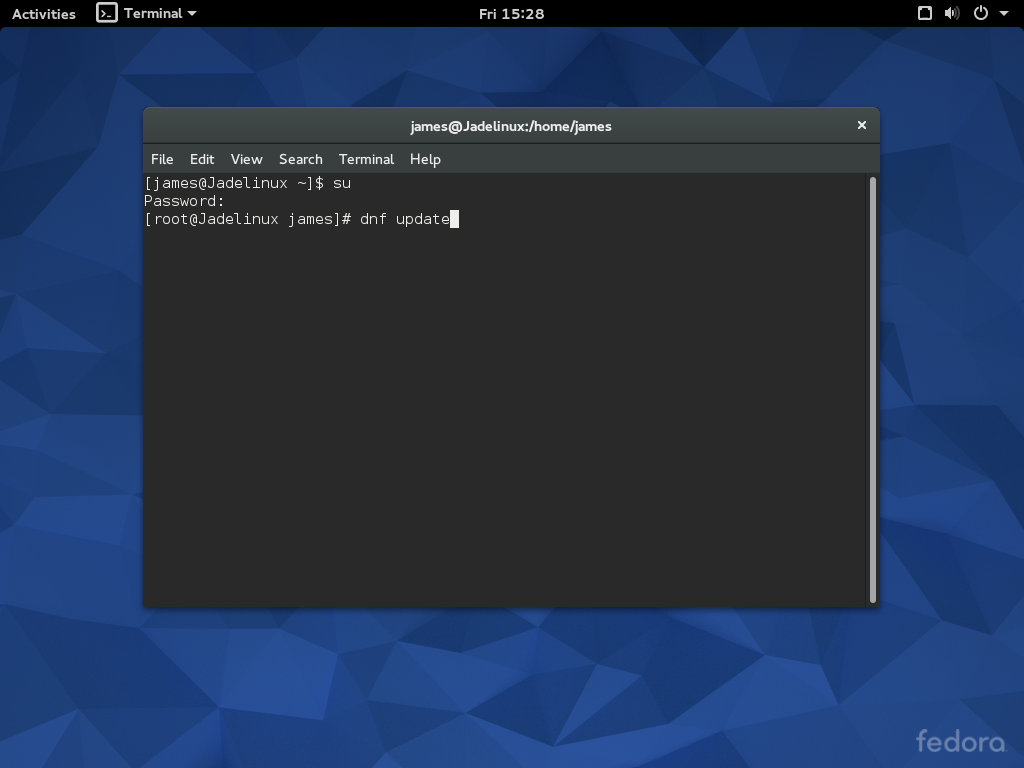
To perform a full system upgrade run “dnf update” command. This will download all the repositories available to your system.
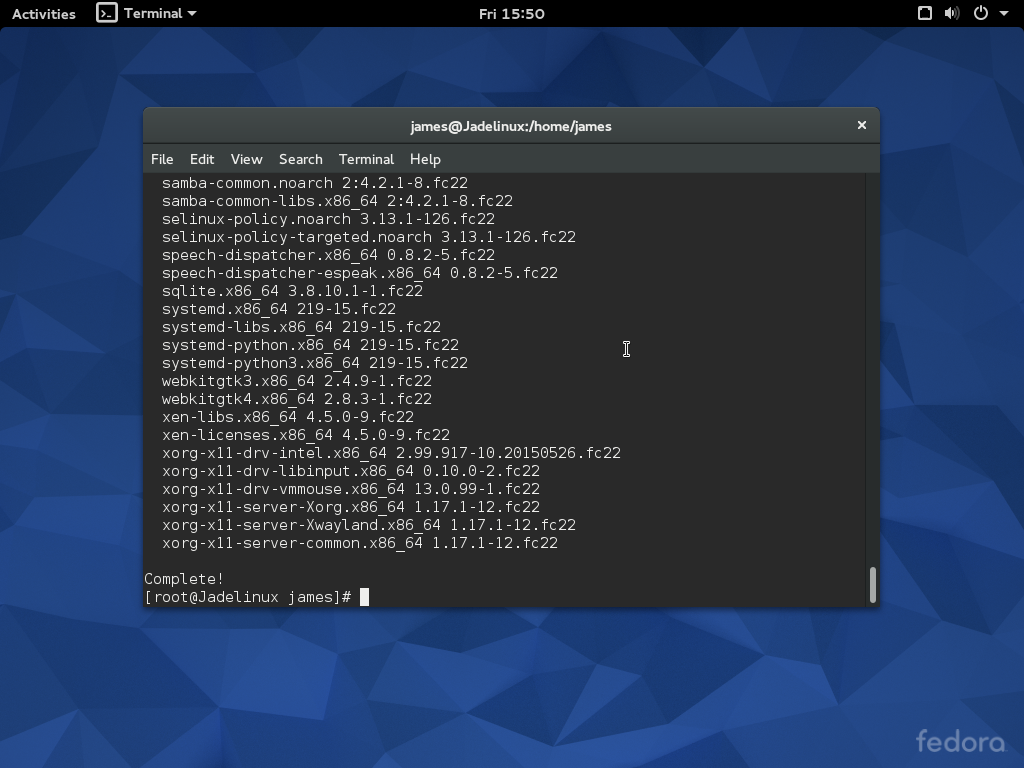
Once the REPO List has been downloaded there will be a list of packages to download and upgrade also a total of what's to be downloaded. When presented type Y and hit enter. The packages will download and install.

When the proses is finished you will see Complete! and a summery of what was installed and upgraded.
Congratulations that's it you have installed and configured Fedora Linux. Enjoy your new system and I hope you have lots of fun!